A simple guide to highlighting your favorite Bible verses in the app, enhancing your study and…

How to Highlight in the Bible App
Embarking on the journey of spiritual enlightenment, have you ever pondered the simplicity of highlighting your favorite verses in the Bible App? You're not alone.
First, ensure you've downloaded the app and set up your account. Once you navigate to a cherished passage, selecting and saving your highlights becomes a breeze, with a palette of colors at your disposal.
But here's the catch: understanding the subtleties of accessing and sharing these highlights with others can transform your study into a shared experience. Let's explore how this feature can deepen your connection with the scriptures and foster community.
Key Takeaways
- Highlight verses by selecting and applying themes or personal reflections for deeper study.
- Ensure highlights are saved for persistent access and offline study.
- Manage highlights through sorting, editing, and sharing, while respecting privacy.
- Use the 'Highlights' section to organize and quickly access favorite verses.
Downloading the Bible App

To get started with highlighting your favorite verses, you'll first need to download the Bible App onto your device. This process is straightforward, ensuring you can quickly move on to exploring and personalizing your Bible study experience.
When considering any app download, app security is paramount. You'll be pleased to know that the developers of the Bible App have taken extensive measures to ensure your personal data and app interactions are protected. This includes safeguarding your highlights, notes, and account information. Before downloading, it's wise to check the app's privacy policy and reviews, giving you peace of mind about its security credentials.
Another fantastic feature of the Bible App is offline access. Once you've downloaded the app, you can opt to download specific versions of the Bible for offline reading. This means you won't always need an internet connection to access your highlighted verses or read your favorite chapters. It's especially useful if you find yourself in areas with unreliable internet access or want to conserve data usage.
To download the app, simply visit your device's app store, search for the Bible App, and click 'install'. The process should be quick, and you'll soon have a world of biblical resources at your fingertips. Remember, downloading the app and accessing its wealth of features, including offline access, is typically free of charge, making it an accessible option for everyone interested in deepening their understanding of the Bible.
Setting Up Your Account

Once you've installed the Bible App on your device, setting up your account is the next crucial step to unlocking a personalized Bible study experience. This process is straightforward and serves as your gateway to a vast array of features that will enhance your scripture engagement.
Here's how to get started:
- Create Your Profile: Input your basic information such as name, email, and a secure password. Remember, this info helps in personalizing your experience and keeping your account secure.
- Set Your Account Privacy: You have control over who sees your activity, notes, and highlights. It's essential to adjust your privacy settings according to your comfort level. This ensures your study time remains a personal journey, shared only with those you choose.
- Configure Your Notification Settings: The app can send you reminders, daily verses, and updates. Tailoring your notification settings helps you stay engaged without being overwhelmed. You can choose the frequency and types of notifications you receive, making sure they fit seamlessly into your daily routine.
Navigating to Your Favorite Passage

Finding your favorite passage in the Bible App is a straightforward process that enhances your scripture study experience. Whether you're deepening your faith or looking for specific guidance, accessing your preferred texts quickly allows you to immerse yourself in spiritual learning without delay.
To navigate efficiently, familiarize yourself with the app's search function. Simply typing keywords or specific book, chapter, and verse numbers into the search bar can lead you directly to your desired passage. Moreover, utilizing the reading plan and bookmark features can streamline your study sessions even further.
The reading plan option helps you systematically explore the Bible, ensuring you don't miss any part of your favorite segments. On the other hand, the bookmark feature allows for quick retrieval of passages you wish to revisit. Here's a quick guide to help you get started:
Feature |
Use Case |
|---|---|
Reading Plan |
Ideal for structured exploration and ensuring you cover your favorite passages within a specific timeframe. |
Bookmark |
Perfect for marking passages you love for quick access anytime. |
Selecting the Verse(s) to Highlight

Once you've navigated to your desired passage in the Bible App, it's time to select the verses you wish to highlight.
You'll find a range of options to customize your highlights, ensuring that they reflect your personal study needs and preferences.
This guide will walk you through the steps of verse selection and the highlighting options available to you, making your study experience both meaningful and personalized.
Navigating Verse Selection
To highlight a specific verse in the Bible app, you'll first need to navigate through the text to select the verse(s) you wish to emphasize. This process involves:
- Verse Scrolling: Gently swipe up or down to move through chapters and verses. The smooth scrolling function allows you to locate your desired verse with ease.
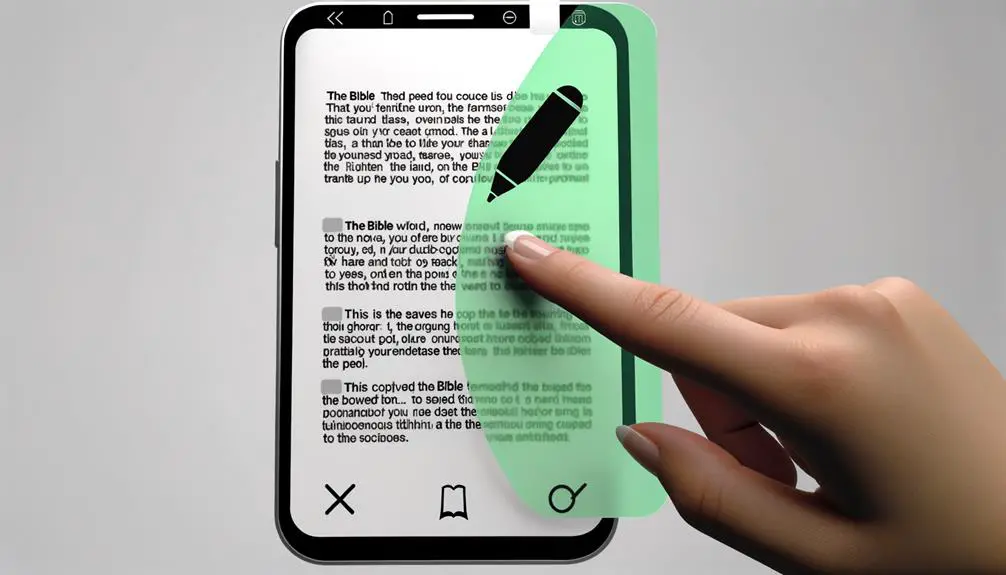
- Tap to Select: Once you've found the verse, a simple tap on it will highlight the text, indicating it's ready for further action. Be mindful of the app's highlight limits, ensuring your selections are precise.
- Adjustment: If you've tapped on the wrong verse or wish to select multiple verses, most apps allow you to drag the selection markers to adjust your highlighted section accurately.
Highlighting Options Guide
After you've selected the verse(s) you wish to highlight, you'll discover a variety of options to personalize your Bible study experience. Each tool is designed with your spiritual journey in mind, enabling you to mark passages based on highlight themes or personal reflections.
Whether you're drawn to verses that speak to love, faith, or perseverance, you can categorize them accordingly. This feature not only enhances your understanding but also makes it easier to revisit specific themes.
Furthermore, adding personal reflections alongside your highlights can deepen your connection to the scripture. It's a meaningful way to track your spiritual growth and insights as you navigate through life's challenges and triumphs, enriching your study with personalized depth and relevance.
Choosing a Highlight Color

Selecting a highlight color in the Bible App allows you to personalize your scripture study experience effectively. Understanding color psychology is crucial as each color can evoke different feelings and memories. However, it's important to be aware of the highlight limitations within the app, ensuring your selections enhance rather than detract from your study.
When choosing a highlight color, consider the following:
- Purpose of Highlighting: Different colors can serve various purposes. For example, yellow might be for key verses, blue for reflective thoughts, and pink for promises or covenants. This method helps you quickly identify the nature of your highlights.
- Color Psychology: Colors influence our perception and emotions. Blue can evoke feelings of calm and serenity, making it suitable for peaceful verses. Red might highlight warnings or commands, drawing your attention immediately. Understanding the emotive power of colors can enrich your study sessions.
- Visibility and Readability: Some colors might look appealing but can strain your eyes over time or make the text difficult to read. Opt for shades that stand out against the background yet are gentle on the eyes, ensuring that your highlighting enhances readability.
Saving Your Highlight

Once you've chosen your highlight color, saving it ensures your personalized scripture study is consistently accessible. This step is crucial, as it prevents your highlights from facing an unexpected expiration, ensuring that each marked verse remains a part of your spiritual journey indefinitely.
Here's how you can safeguard your highlights for future reflection and inspiration.
After selecting the preferred shade for your highlight, you'll typically see an option to 'Save' or a similar command. It's important to tap or click this button, as failing to do so might result in your highlight not being recorded. This process is immediate and confirms your action, integrating your choice into the digital fabric of your Bible app.
Saving your highlights also plays a significant role in offline access. Imagine you're in a location with limited or no internet connectivity. If you've saved your highlights beforehand, you'll be able to access these marked passages without needing to connect to the internet. This feature is particularly valuable for those moments when you seek solace in scripture while off the grid, ensuring that your spiritual resources are always within reach, no matter where you are.
Accessing Your Highlights

Once you've saved your highlights in the Bible App, you'll likely want to revisit them for reflection or study. Viewing your highlighted verses is straightforward, and managing your highlight list allows you to keep your favorite verses organized and easily accessible.
Let's explore how you can access and manage your highlights efficiently.
Viewing Highlighted Verses
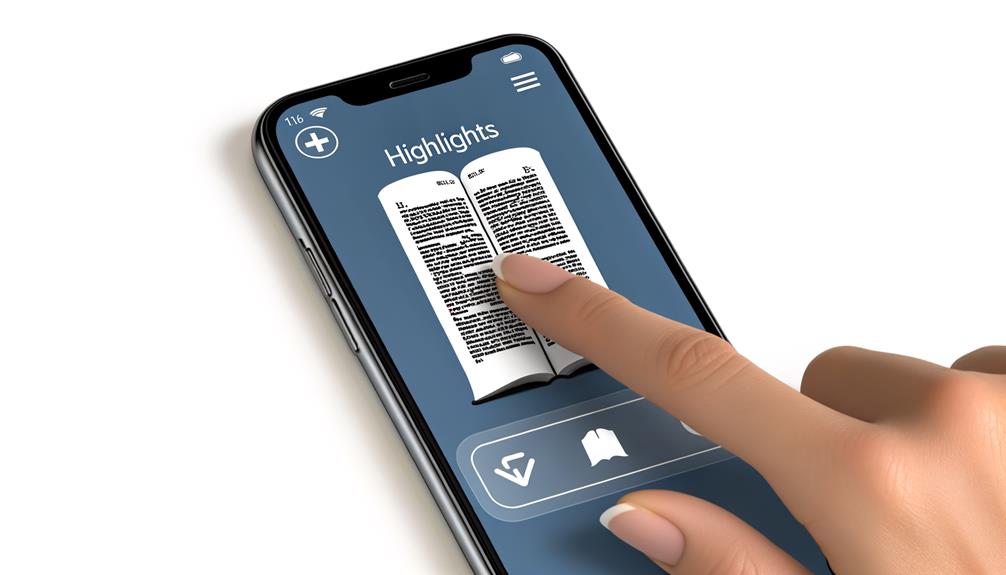
To access your highlighted verses in the Bible App, first navigate to the 'Highlights' section found in your profile or menu options. Once there, you'll discover a vibrant tapestry of your spiritual journey, with each highlight capturing a moment of insight or inspiration.
Viewing your highlighted verses allows you to:
- Admire the Highlight Aesthetics: Revel in the colors and styles you've chosen to mark meaningful passages.
- Review Verse Annotations: Reflect on the notes and thoughts you've attached to certain verses, deepening your understanding.
- Revisit Spiritual Insights: Re-engage with verses that struck a chord, fostering continuous spiritual growth.
This feature not only personalizes your Bible study but also makes it easy to track your progress and reflections over time.
Managing Highlight List
Navigating through your highlight list in the Bible App, you'll find managing and accessing your spiritual markers to be a streamlined and intuitive process. The app offers robust features for highlight organization and list customization, ensuring that your most cherished verses are always within easy reach. Here's how you can make the most out of these tools:
Feature |
Purpose |
|---|---|
Sort |
Organize highlights by date, color, or book for easy retrieval. |
Filter |
View highlights from specific books or categories. |
Edit |
Modify or delete existing highlights. |
Share |
Spread the word with friends or social media. |
Bookmark |
Quickly access favorite verses. |
Sharing Highlights With Others

Sharing your favorite highlights with friends and family can deepen your collective understanding and connection to the scripture. However, it's essential to consider privacy concerns and the dynamics of social sharing. The Bible App offers you a seamless way to share, but you'll want to ensure that your spiritual journey remains respectful and personal to all involved.
Here are three simple steps to share your highlights without compromising your privacy:
- Select the Highlight: Navigate to the verse or passage you've highlighted. This action is the starting point for sharing the insights or revelations that spoke to you deeply.
- Choose the Share Option: Look for the share icon, usually depicted as an arrow or connected dots. Tapping on this icon will prompt you with several sharing options. Here's where you can control how and with whom you share your highlights.
- Pick Your Platform: The app typically offers various platforms for sharing, such as social media, email, or directly within the app to your connected friends or study groups. Consider who you're sharing with and choose the platform that respects everyone's privacy and comfort levels.
Frequently Asked Questions
Can You Remove or Edit a Highlight Once It's Been Saved in the Bible App?
Yes, you can definitely edit or remove a highlight once it's saved. To do so, simply tap on the highlighted verse you're looking to change.
You'll find options to adjust the color, making it easy to organize your notes or share insights in a visually appealing way.
If you've changed your mind entirely, there's also the option to delete the highlight. It's a straightforward process, ensuring your digital Bible study remains flexible and personalized.
Is There a Limit to How Many Verses I Can Highlight in the Bible App?
Luckily, there aren't highlighting restrictions in the Bible app, meaning you can mark as many verses as you need. This freedom allows for an extensive personalization of your spiritual journey.
However, keep in mind that excessive highlighting could affect app performance, potentially slowing it down. It's all about finding the right balance to ensure your experience remains smooth and enriching, letting you focus on the scriptures that resonate most with you.
How Can I Search for a Specific Highlighted Verse if I Forget Where It Was Located?
To search for a specific highlighted verse, start by opening your Bible app. Use the search feature, entering keywords or phrases from the verse you're looking for.
If you've used color coding for your highlights, this can narrow down your search. Also, check your highlight-sharing section; if you've shared any verses, they might be easier to find.
This method ensures you won't lose track of those meaningful verses again.
Can I Organize My Highlights Into Categories or Themes for Easier Reference?
Yes, you can organize your highlights into categories or themes for easier reference by using color coding. This feature lets you assign different colors to various themes or subjects, making it simpler to find and reference them later.
Additionally, many apps offer sharing options, allowing you to share these organized, color-coded highlights with others, which can be incredibly helpful for group studies or discussions.
This way, your study becomes more structured and accessible.
Are Highlights Made in the Bible App Visible to Other Users, or Are They Private to My Account?
When you make highlights, they're private to your account by default. You've got control over your sharing preferences, so you can decide if you want to keep them to yourself or share them with friends.
Highlight visibility is all in your hands. Adjust your settings if you feel like sharing your insights or keep them private to reflect on your personal journey.
It's all about what works best for you.
Conclusion
Now that you've learned how to highlight in the Bible app, you're on your way to a more interactive and personalized study experience. Did you know that users highlight over 4 million verses each month? This staggering statistic showcases the vibrant community and engagement within the app.
By saving and sharing your highlights, you're not just deepening your understanding, but also connecting with a global community of believers. Dive in and make your mark—your spiritual journey is waiting.


Sign up